animatediff layers in comfyui
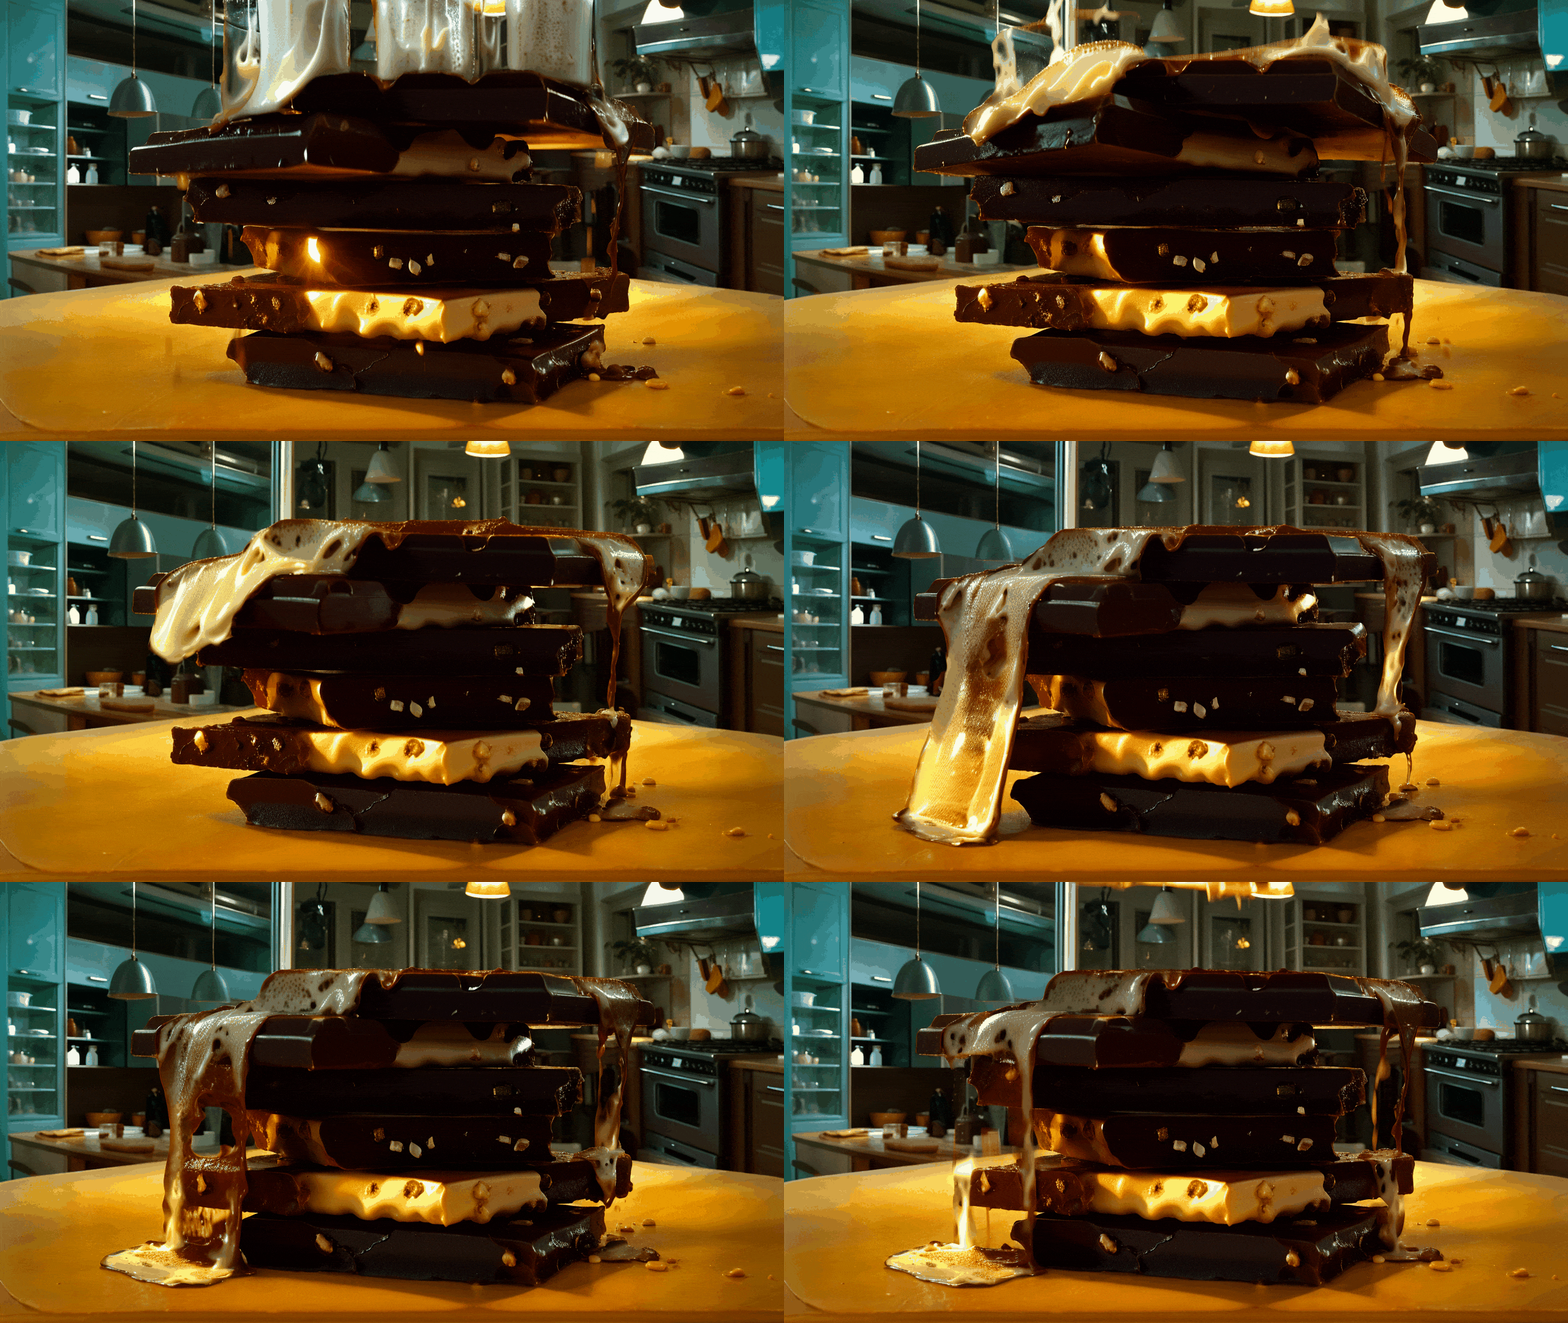
Chocolate and Coffee - Image by Ardy Ala
Introduction to the Project:
We started with a simple RBD simulation in Houdini, adding a basic fluid effect to mimic the pouring coffee.
💡Primary Objective:
The goal of this experiment is to breakdown the shot into various modules layered upon each other and process them individually through the AnimateDiff workflow to enhance details and increase stability.
🚨Workflow Steps:
Background Integration:
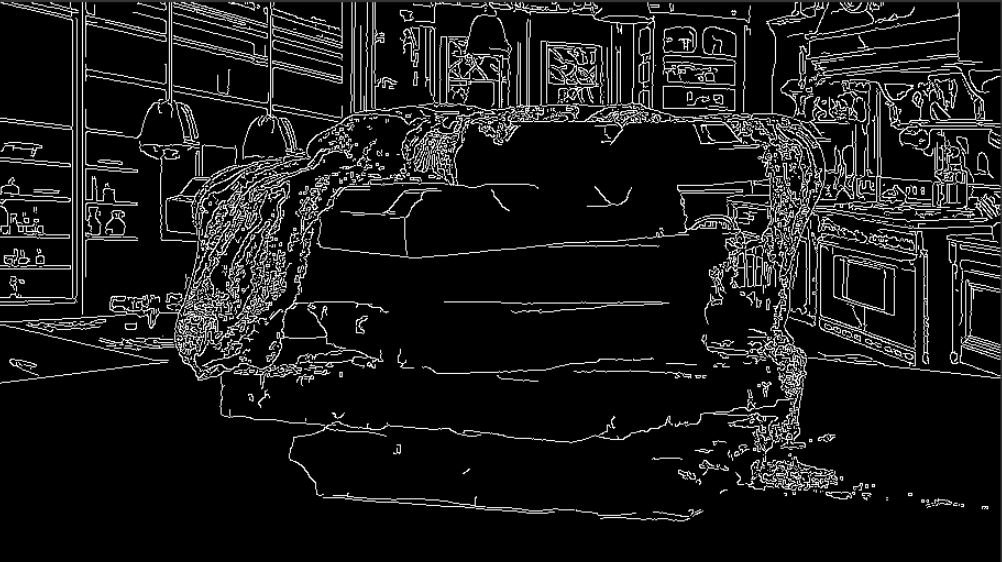
Added an image to the background of our sequence, seamlessly integrating it by reprocessing the lineart.
Utilizing Multiple IP Adapters:
Employed a combination of multiple IP adapters to maximize the background's potential and enhance the hero elements, ensuring that every detail contributes to the overall aesthetic.
Reference Image Creation:
Created a reference image using a single frame from the rendered sequence. This step was crucial for experimenting with different color tones and textures, particularly for the chocolate bars, allowing us to fine-tune its appearance.
Upscaling and Interpolation Techniques:
Investigated and applied various upscaling and interpolation methods to improve the visual quality of the animation.
You can create your own rough background by combining several images. They don't need to blend perfectly, as you'll only be using the outlines of the elements in ComfyUI.
replacing the background in Nuke
canny preprocessor
🚨a few things to consider:
Planning properly from the start is crucial to achieve the best results in AI.
Different checkpoints yield varied results because they are trained for specific purposes. Therefore, it's essential to use LORAS for scenes composed of entirely different elements.
It's usually better to avoid extreme Dutch camera angles unless there is a very good reason for using them.
Rendering without a ground plane can yield better results for the main subject. However, this approach may lead to some inaccuracies in perspective during interpolation in Stable Diffusion.
If you're not going to have a ground plane, avoid camera motions in your renders, because they won't translate into the camera; instead, they'll be reflected in your object.
gif animation - “Realistic Vision 6B”
how various checkpoint models affect the image
various checkpoint models - comparison
💡List of the models I have used for this example:
Template for prompt travel + openpose controlnet from Matteo:
Animatediff v3:
https://huggingface.co/guoyww/animatediff/blob/main/v3_sd15_mm.ckpt
ControlNet-v1-1_fp16_safetensors:
DreamShaper Checkpoint:
https://civitai.com/models/4384/dreamshaper
join my vfx-AI newsletter:
-Ardy


